More and more individuals are utilizing Mac laptops for everyday chores as technology advances. Taking a screenshot is one of the most frequent actions that people need to perform. Taking a screenshot on a Mac is a crucial skill, whether you’re attempting to record an image, save a chat log, or show someone an error message. We’ll walk you through the process of capturing a screenshot on a Mac in this post, and we’ll also offer some advice on how to maximize your screenshotting efficiency.
Taking a Mac Screenshot
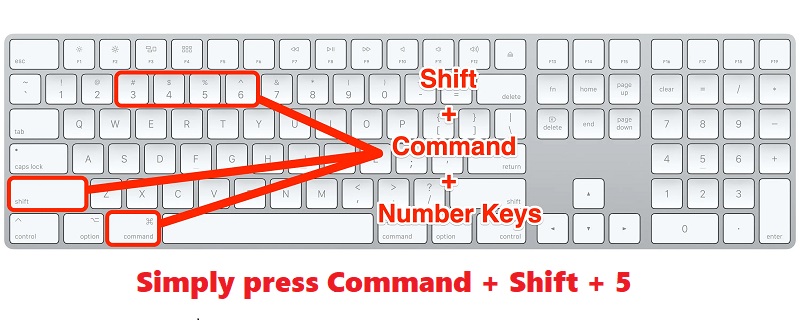
On a Mac, there are a few different ways to take a screenshot, but the most popular approach is to utilize the built-in screenshot tool. Simply press Command + Shift + 5 on your keyboard to open this tool. The screenshot toolbar will then appear, giving you the option to take a snapshot of the full screen, a window, or a specific area of the screen.
Simply click the “Capture Entire Screen” button to take a screenshot of the entire screen. Click the “Capture Selected Window” button, then click the desired window if you want to capture a specific one. Click the “Capture Selected Portion” option and then use your mouse to pick the area you want to capture if you want to take a screenshot of a specific region of the screen.
Taking a Screenshot and Editing It
Your screenshot will show up as a thumbnail in the bottom-right corner of your screen after you’ve taken it. From here, you have two options for saving your screenshot: clicking on the thumbnail to edit it and save it, or dragging the thumbnail to your desktop or a folder to save it as a file.
If you decide to alter your screenshot, you will be directed to the Markup tool where you can annotate your snapshot with text, shapes, and other elements. In order to make your screenshot stand out, you can also crop it, change its color and brightness, as well as apply a drop shadow.
Advanced Screen Capture Methods
Although the built-in screenshot utility is excellent for the majority of users, you might wish to attempt some more sophisticated screenshot techniques. For instance, you can use the Terminal program to capture screenshots from the command line, or you can enhance your screenshotting experience with additional features and capabilities by using third-party tools like Skitch or Snagit.
Guidelines for Taking Screenshots on a Mac
Here are some pointers and methods to keep in mind so that you may make the most of your screenshotting experience on a Mac:
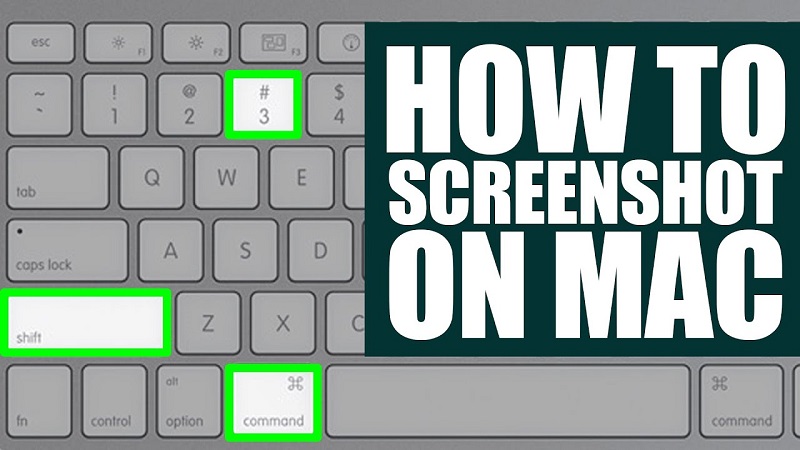
Use keyboard shortcuts: You may snap screenshots on a Mac by using a number of keyboard shortcuts in addition to the Command + Shift + 5 shortcut we previously described. For instance, although Command + Shift + 4 enables you to select a specific area of the screen to be captured, Command + Shift + 3 will capture the entire screen.

Change your options: If you frequently take screenshots, you might wish to change the screenshot utility’s default settings. You can switch the default place where your screenshots are saved or change the PNG file format to JPG or PDF, for instance.
Use third-party applications: As we already noted, there are a number of third-party applications that can improve your Mac screenshotting experience. For instance, Skitch enables you to annotate screenshots with arrows, text, and other elements, whereas Snagit enables you to record your screen and record video.
Conclusion
On a Mac, taking a screenshot is a quick and easy process. Different portions of the screen can be captured using a variety of techniques, and the built-in screenshot editor allows you to edit your screenshots. You’ll be able to take screenshots like a pro in no time with the help of this thorough guide!


